This code creates dynamic toast notifications using Bootstrap 5. It shows customizable notifications on user actions. It helps provide feedback or alerts in web applications.
You can use this code in web applications to display dynamic toast messages. It enhances user experience by providing immediate feedback. It’s customizable and easy to integrate.
How to Create Bootstrap 5 Dynamic Toast Notifications
1. First of all, load the Bootstrap CSS by adding the following CDN link into the head tag of your HTML document.
<link rel='stylesheet' href='https://cdnjs.cloudflare.com/ajax/libs/twitter-bootstrap/5.0.2/css/bootstrap.min.css'>
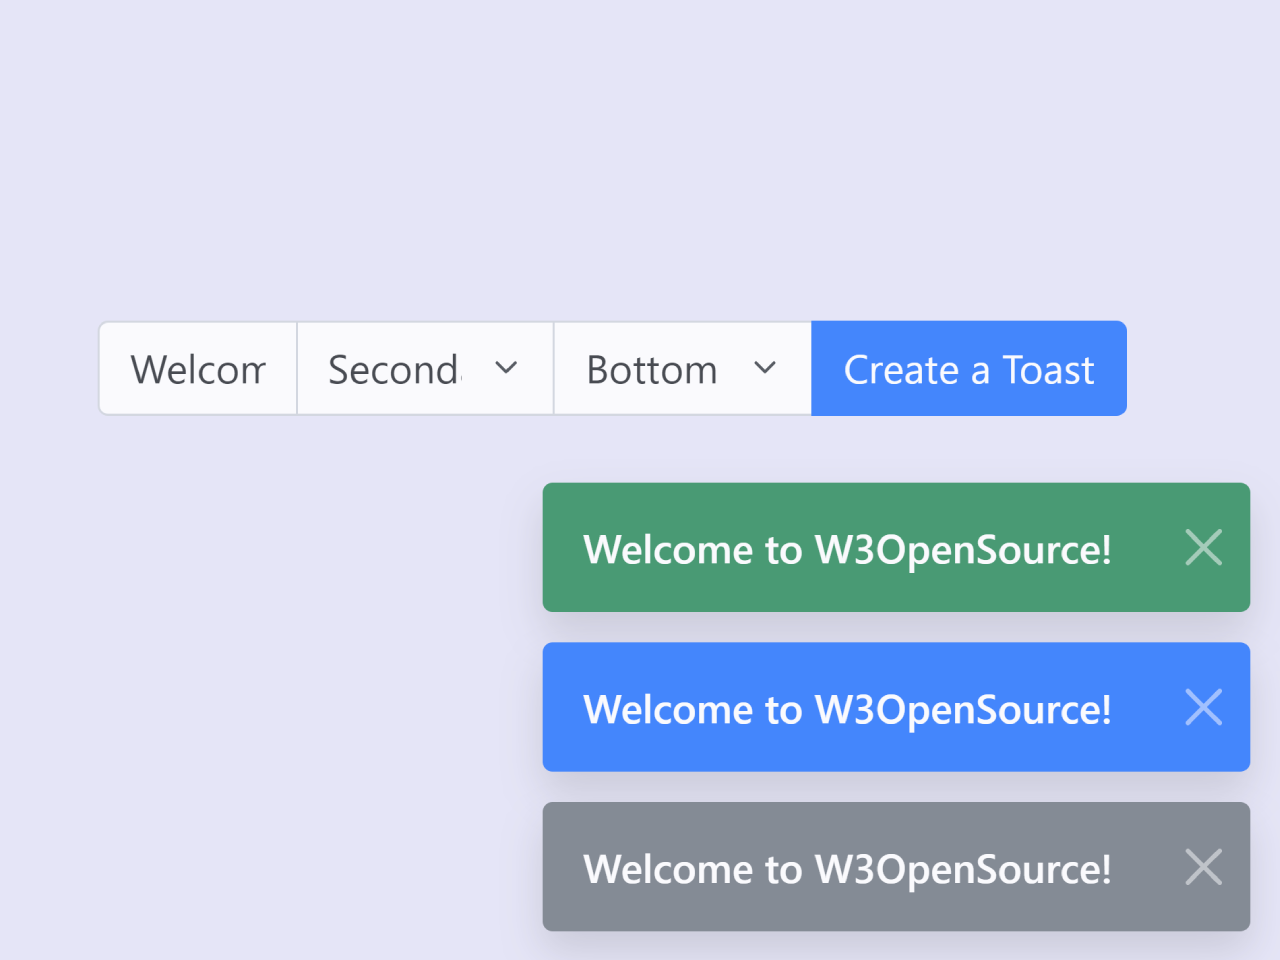
2. Start by creating the HTML structure for your notifications. Include a container where the toast notifications will appear, along with any necessary input fields or buttons for user interaction.
<div class="container">
        <div class="row py-5 text-center">
            <div class="col-12 input-group">
                <input type="text" class="form-control" name="content" placeholder="Toast content">
                <select class="form-select" name="type">
                    <option value="" selected>Toast type</option>
                    <option value="primary">Primary</option>
                    <option value="secondary">Secondary</option>
                    <option value="success">Success</option>
                    <option value="danger">Danger</option>
                    <option value="warning">Warning</option>
                    <option value="info">Info</option>
                    <option value="light">Light</option>
                    <option value="dark">Dark</option>
                </select>
                <select class="form-select" name="position">
                    <option value="" selected>Toast position</option>
                    <option value="top-0,end-0">Top Right</option>
                    <option value="bottom-0,end-0">Bottom Right</option>
                    <option value="bottom-0,start-0">Bottom Left</option>
                    <option value="top-0,start-0">Top Left</option>
                </select>
                <button id="create-toast" class="btn btn-primary">Create a Toast</button>
            </div>
        </div>
    </div>
    <div aria-live="polite" aria-atomic="true">
        <div class="toast-container position-absolute p-3" id="toast-container" style="z-index:9;"></div>
    </div>
3. You can define the custom CSS styles for the toast notifications. (Optional)
.toast-body{
  /* Your custom CSS styles goes here */
}
4. Now, load the Bootstrap JS by adding the following CDN link just before closing the <body> element:
<script src='https://cdnjs.cloudflare.com/ajax/libs/twitter-bootstrap/5.0.2/js/bootstrap.min.js'></script>
5. FInally, write JavaScript code to handle the dynamic creation and display of toast notifications. Utilize event listeners to trigger notification creation based on user actions.
Define a function to create toast notifications dynamically. This function should accept parameters such as content, type (e.g., success, warning, error), and position.
document.querySelector('#create-toast').addEventListener('click', function() {
    document.querySelector('#toast-container').classList.remove('top-0','end-0','bottom-0','start-0');

    var content = (document.querySelector('input[name=content]').value != '')
        ? document.querySelector('input[name=content]').value
        : 'Lorem ipsum dolor sit amet';

    var type = (document.querySelector('select[name=type]').value != '')
        ? document.querySelector('select[name=type]').value
        : 'success';

    var position = (document.querySelector('select[name=position]').value != '')
        ? document.querySelector('select[name=position]').value.split(',')
        : ['top-0','end-0'];

    showToast(content, type, position);
});

function showToast(content, type, position) {
    var delay = 15000;
    position.forEach((el) => {
        document.querySelector("#toast-container").classList.add(el);
    });
    var html = `<div class="toast align-items-center text-white bg-${type} border-0" role="alert" aria-live="assertive" aria-atomic="true"><div class="d-flex"><div class="toast-body h6 p-3 m-0">${content}</div><button type="button" class="btn-close btn-close-white me-2 m-auto" data-bs-dismiss="toast" aria-label="Close"></button></div></div>`;
    var toast = htmlToElement(html);
    var toastContainer = document.querySelector("#toast-container");
    toastContainer.appendChild(toast);
    var toast = new bootstrap.Toast(toast, {delay:delay, animation:true});
    toast.show();
    setTimeout(() => toast.remove(), delay + 15000);
}

function htmlToElement(html) {
    var template = document.createElement('template');
    html = html.trim();
    template.innerHTML = html;
    return template.content.firstChild;
}
That’s all! hopefully, you have successfully created Dynamic Toast Notifications on your website. If you have any questions or suggestions, feel free to comment below.


