This code creates an automatic image slideshow effect in HTML, CSS, and JavaScript. It displays images with navigation buttons. It helps showcase multiple images automatically.
You can use this code on any website to add an engaging image slideshow. It enhances visual appeal and user experience. Moreover, it’s easy to customize and integrate into your webpage.
How to Create Automatic Image Slideshow Effect in HTML CSS & JavaScript
1. First of all, load the Font Awesome CSS by adding the following CDN link into the head tag of your HTML document.
<link rel='stylesheet' href='https://cdnjs.cloudflare.com/ajax/libs/font-awesome/4.7.0/css/font-awesome.css'>
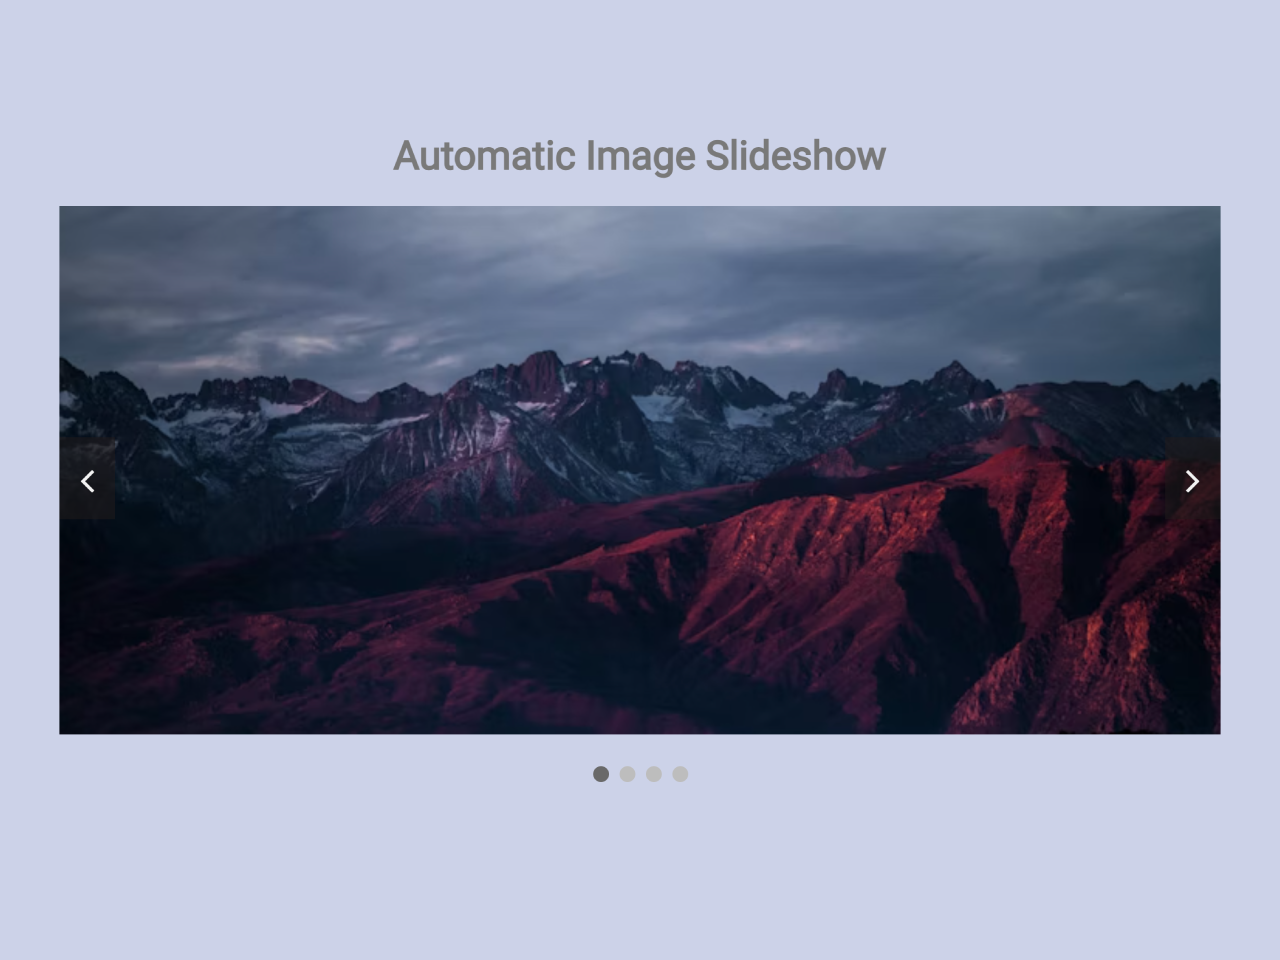
2. Create the HTML structure for the slideshow. Include an <h1> tag for the title and a <div> container for the slides. Add <img> tags within the container for each image you want to display.
<h1 style="padding:0px 20px;text-align: center;color: rgb(121, 121, 121);"> Automatic Image Slideshow </h1>

    <div class="container" data-autoplay="true">
        <div class="slide"> <img
                src="https://images.unsplash.com/photo-1477346611705-65d1883cee1e?ixid=MnwxMjA3fDB8MHxwaG90by1wYWdlfHx8fGVufDB8fHx8&ixlib=rb-1.2.1&auto=format&fit=crop&w=750&q=80"
                alt="nature" /></div>
        <div class="slide">
            <img src="https://images.unsplash.com/photo-1446292532430-3e76f6ab6444?ixlib=rb-1.2.1&ixid=MnwxMjA3fDB8MHxwaG90by1wYWdlfHx8fGVufDB8fHx8&auto=format&fit=crop&w=804&q=80"
                alt="nature" />
        </div>
        <div class="slide">
            <img src="https://images.unsplash.com/photo-1501785888041-af3ef285b470?ixlib=rb-1.2.1&ixid=MnwxMjA3fDB8MHxwaG90by1wYWdlfHx8fGVufDB8fHx8&auto=format&fit=crop&w=750&q=80"
                alt="nature" />
        </div>
        <div class="slide">
            <img src="https://images.unsplash.com/photo-1506260408121-e353d10b87c7?ixid=MnwxMjA3fDB8MHxwaG90by1wYWdlfHx8fGVufDB8fHx8&ixlib=rb-1.2.1&auto=format&fit=crop&w=800&q=80"
                alt="nature" />
        </div>

        <button class="prev" onclick="prev()"><i class="fa fa-angle-left"></i></button>
        <button class="next" onclick="next()"><i class="fa fa-angle-right"></i></button>


    </div>
    <div class="dots_container" id="indicator"></div>
3. Style the slideshow and its components using CSS. Set the dimensions, position, and transitions for the slides and navigation buttons. Customize the appearance to match your website’s design.
body {
        margin: 0;
        font-family: 'Courier New', Courier, monospace;
    }

    .container {
        position: relative;
        width: 70%;
        height: 400px;
        margin: 20px auto;
    }

    .slide {
        position: absolute;
        top: 0;
        left: 0;
        width: 100%;
        height: 400px;
        margin: 0;
        opacity: 0;
        transition: 1s ease-in-out;
        overflow: hidden;
    }

    .slide img {
        width: 100%;
    }

    button {
        position: absolute;
        top: 50%;
        border: none;
        background: rgba(32, 26, 26, 0.527);
        color: rgb(243, 243, 243);
        padding: 10px 16px;
        margin-top: -25px;
        font-size: 30px;
        z-index: 1000;
        font-weight: 900;
        transition: 0.5s ease-in-out;
    }

    .prev {
        left: 0;
    }

    .next {
        right: 0;
    }


    button:hover {
        background: rgba(32, 26, 26, 0.527);
    }

    .dots_container {
        display: flex;
        margin: 5px auto;
        width: fit-content;
    }

    .dots {
        height: 12px;
        width: 12px;
        border-radius: 50%;
        background: #bdbdbd;
        margin: 4px;
    }

    .dots:hover {
        background: #696969 !important;
    }

    @media screen and (max-width:600px) {
      .slide{
        height:fit-content;
      }
      .container{
height:200px;}
    button {
        top: 50%;
    }
    }
4. Finally, implement JavaScript functions to enable the automatic slideshow functionality. Use setInterval to advance to the next slide at regular intervals. Include functions for navigating between slides and updating the slideshow indicators.
var slide = document.getElementsByClassName("slide");
        var indicator = document.getElementById("indicator");
        var dots = document.getElementsByClassName("dots");
        var autoplay = document.getElementsByClassName("container")[0].getAttribute("data-autoplay");
        var l = slide.length;
        var interval = 5000;
        var set;

        window.onload = function () {
            initialize();
            slide[0].style.opacity = "1";
            for (var j = 0; j < l; j++) {
                indicator.innerHTML += "<div class='dots' onclick=change(" + j + ")></div>";
            }

            dots[0].style.background = "#696969";

        }

        function initialize() {
            if (autoplay === "true")
                set = setInterval(function () { next(); }, interval);
        }


        function change(index) {
            clearInterval(set);
            count = index;
            for (var j = 0; j < l; j++) {
                slide[j].style.opacity = "0";
                dots[j].style.background = "#bdbdbd";
            }
            slide[count].style.opacity = "1";
            dots[count].style.background = "#696969";


        }

        var count = 0;
        function next() {
            clearInterval(set);
            slide[count].style.opacity = "0";
            count++;
            for (var j = 0; j < l; j++) {
                dots[j].style.background = "#bdbdbd";
            }


            if (count == l) {
                count = 0;
                slide[count].style.opacity = "1";
                dots[count].style.background = "#696969";

            } else {
                slide[count].style.opacity = "1";
                dots[count].style.background = "#696969";
            }
            initialize()
        }


        function prev() {
            clearInterval(set);
            slide[count].style.opacity = "0";
            for (var j = 0; j < l; j++) {
                dots[j].style.background = "#bdbdbd";
            }
            count--;

            if (count == -1) {
                count = l - 1;
                slide[count].style.opacity = "1";
                dots[count].style.background = "#696969";

            } else {
                slide[count].style.opacity = "1";
                dots[count].style.background = "#696969";
            }
            initialize()
        }
That’s all! hopefully, you have successfully created an automatic Image Slideshow on your website. If you have any questions or suggestions, feel free to comment below.
Related Projects:
 Bootstrap Thumbnail Carousel with Lightbox
 Image Slider Using HTML CSS and Vanilla JS
 3D Rotating Carousel With CSS and JavaScript
 Fullscreen Responsive Image Slider using HTML, CSS and JavaScript - FullscreenImageSlider
 Simple Image Slider using HTML Radio Buttons
 Automatic Image Slider in HTML CSS Without JavaScript