This code snippet helps you to change the image on hover with transition effect. It uses jQuery for interactive functionality. It’s useful for creating visually engaging image galleries with dynamic hover effects.
You can use this code on your website’s image galleries for a polished look. It enhances user experience by adding interactive hover effects. It’s simple to implement and customize.
How to Change Image On Hover with Transition Effect
1. Begin by creating a <div> with an id of “wrap” to contain your image gallery. Inside “wrap”, create a <div> with a class of “container” to hold your images and links.
Each image-link pair should be wrapped in <li> tags within an unordered list <ul>. For each pair, include an <a> tag with a class of “link” for the link and an <img> tag within a <div> with a class of “image” for the image.
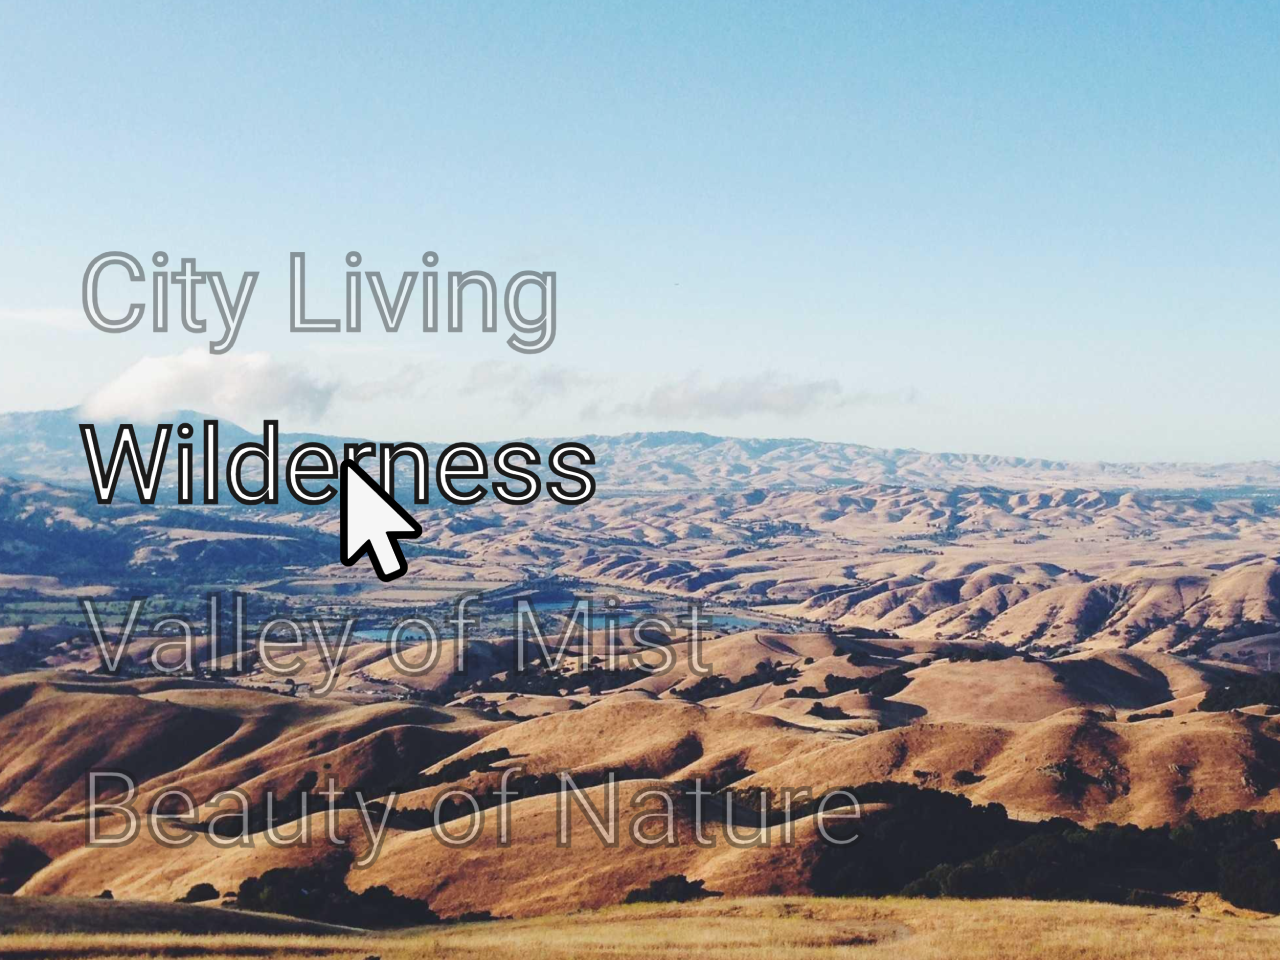
<div id="wrap">
	<div class="container">

		<ul>
			<li>
				<div class="container-item">
					<a href="#" class="link">City Living</a>
					<div class="image">
						<img src="https://picsum.photos/id/1047/3264/2448" alt="image">
					</div>
				</div>
			</li>

			<li>
				<div class="container-item">
					<a href="#" class="link">Wilderness</a>
					<div class="image">
						<img src="https://picsum.photos/id/46/3264/2448" alt="image">
					</div>
				</div>
			</li>

			<li>
				<div class="container-item">
					<a href="#" class="link">Valley of Mist</a>
					<div class="image">
						<img src="https://picsum.photos/id/1064/4236/2819" alt="image">
					</div>
				</div>
			</li>

			<li>
				<div class="container-item">
					<a href="#" class="link">Beauty of Nature</a>
					<div class="image">
						<img src="https://picsum.photos/id/1024/1920/1280" alt="image">
					</div>
				</div>
			</li>
		</ul>

	</div><!-- end container -->
</div><!-- end wrap -->
2. Apply CSS styles to create the desired layout and transition effects. Style the “image” class to position the images and set initial opacity to 0. Customize the appearance of links and containers as per your design preferences. Ensure smooth transitions by defining transition properties for the “image” class.
* {
	box-sizing: border-box;
	padding: 0;
	margin: 0;
}
body {
	min-height: 100vh;
}
#wrap {
  overflow: hidden;
}

.image {
  position: fixed;
  top: 0;
  left: 0;
  width: 100%;
  height: 100%;
  z-index: -1;
  opacity: 0;
  visibility: hidden;
  transition: all .3s ease-in-out;
}
.image img {
  width: 100%;
  height: 100%;
  object-fit: cover;
  object-position: 50% 50%;
}
.container > ul > li:first-child .image {
  opacity: 1;
  visibility: visible;
}

.container {
	position: relative;
	display: grid;
	grid: 1fr / 1fr;
  width: 100%;
  height: 100%;
  z-index: 999;
  padding: 5%;
}
.container > ul {
  list-style: none;
  width: 95%;
  margin: 0 auto;
  padding: 0;
}
.container-item {
  padding: 15px 0;
}

.link {
  position: relative;
  font-size: calc(1.5rem + 3vw);
  font-weight: 600;
  text-decoration: none;
  color: #FFF;
  -webkit-text-stroke:  0.08vw #1a1a1a;
  transition: opacity .3s ease-in-out;
}
.container-item.active .link + .image {
  opacity: 1;
  visibility: visible;
}
.container.hover .link {
  opacity: .4;
}
.container-item.active .link {
  opacity: 1;
}
3. Now, load the jQuery by adding the following CDN link just before closing the body tag:
<script src='https://cdnjs.cloudflare.com/ajax/libs/jquery/3.6.0/jquery.min.js'></script>
4. Finally, add the following JavaScript function between <script> tag or external JS file just after the jQuery library. It dynamically changes the displayed image when hovering over its associated link, providing a smooth transition effect.
$(".link").each(function() {
  $(this).on("mouseover", function() {
    $(".container").addClass("hover");
    $(".container-item").removeClass("active");
    $(this).parent().addClass("active");
  }).on("mouseleave", function() {
    $(".container").removeClass("hover");
  });
});
That’s all! hopefully, you have successfully created a functionality to change the image on hover with a transition effect. If you have any questions or suggestions, feel free to comment below.


